|
|
 |
|
This was my first project in all of my die-cast collecting years. Here, I planned to take a Maisto 1/18 scale Mercedes-Benz
S500, and add headlights and taillights. I also wanted to do a wheel and rim swap with a Maisto 1/18 scale Mercedes-Benz SL55
AMG pace car. There are two phases to this project.
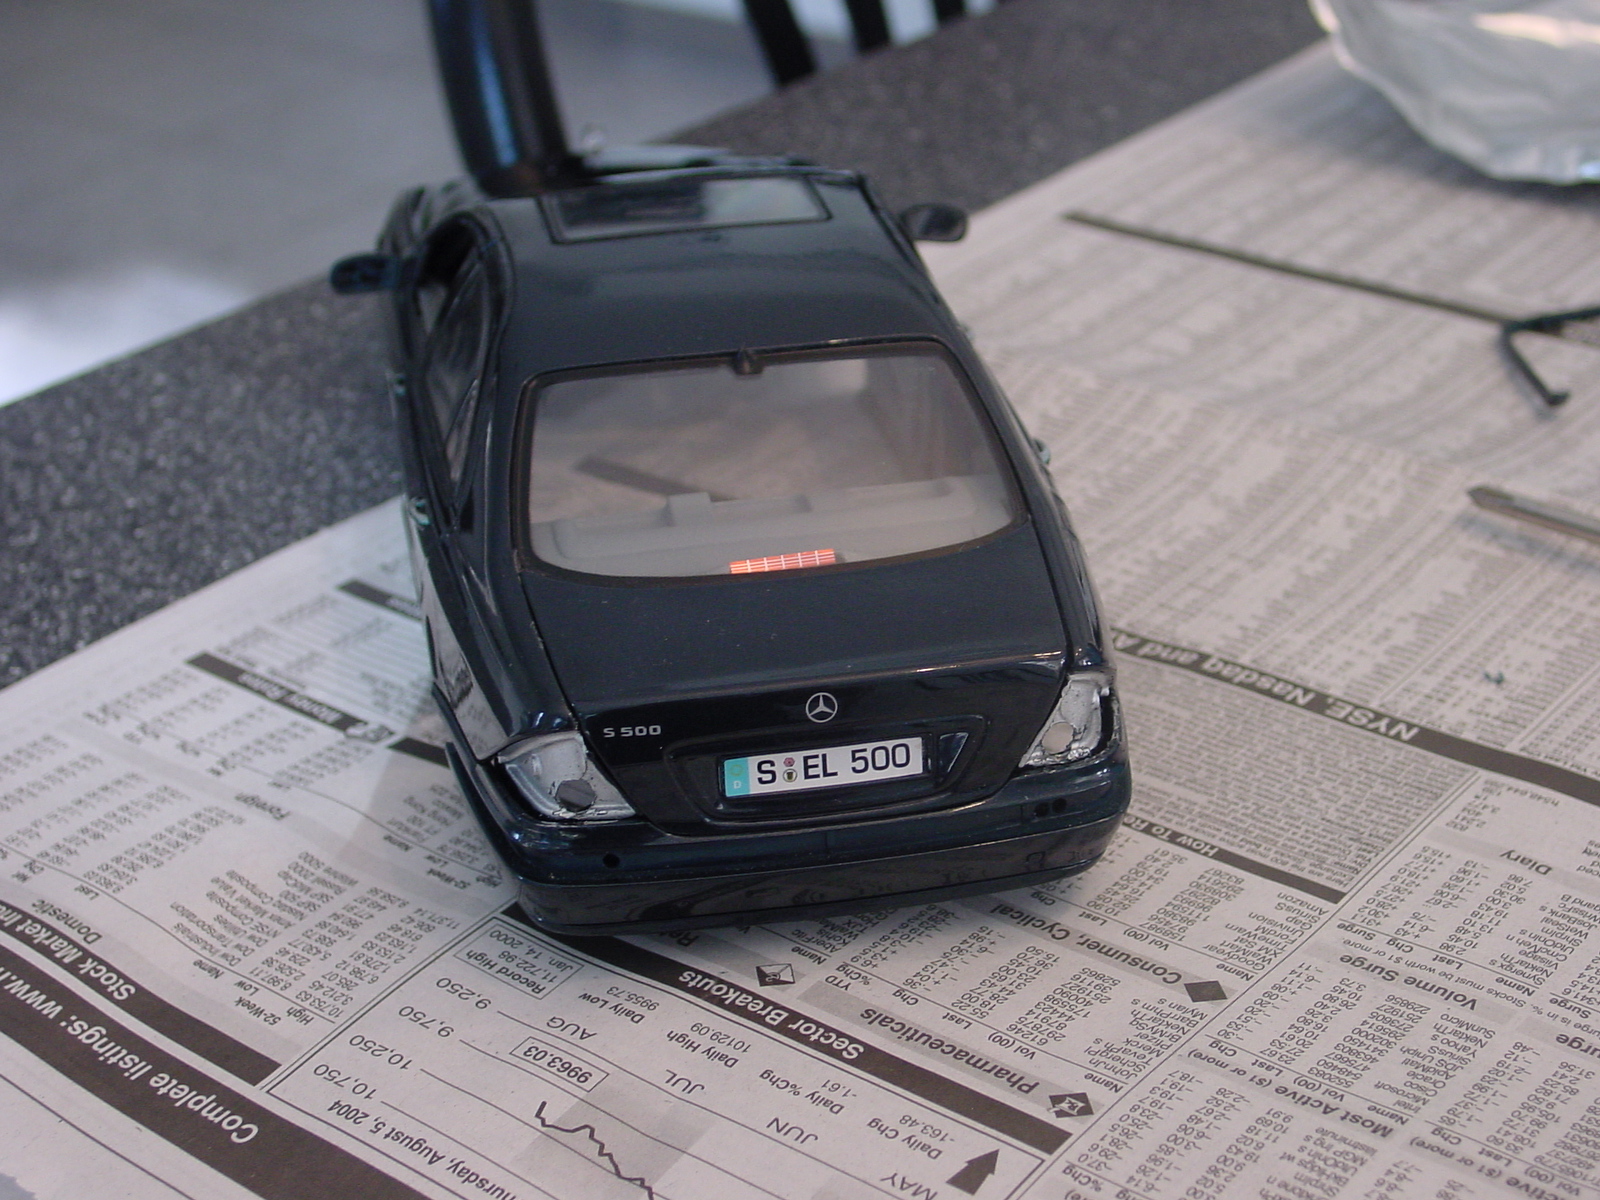
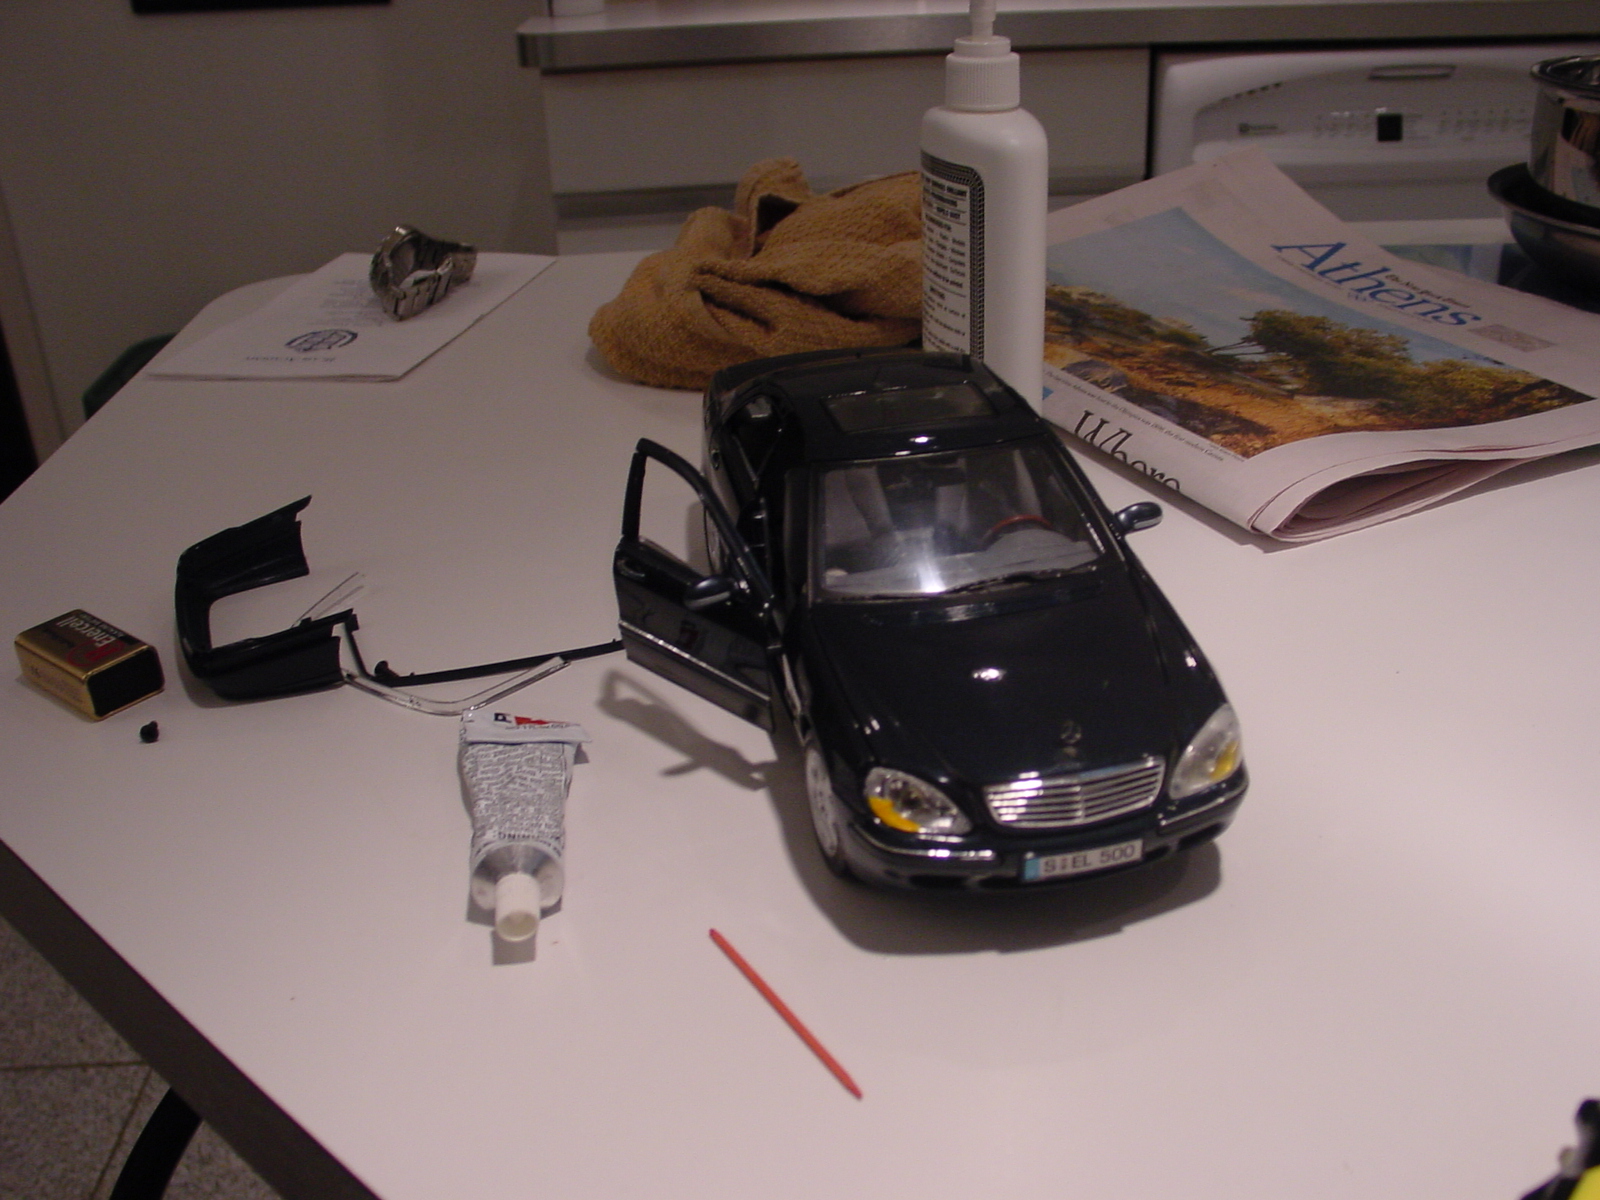
Phase 1: Here's the Mercedes I am working on. It's a 2001 Mercedes-Benz S500; the model manufactured by Maisto. This
is the phase where I created the effects of headlights and tailights.What I used was a pair of mini 5mm LED lights to create
that effect. I bought a pack containing 2 bi-xenon colored LED lights (only the color, not actual xenon lights), wired up
to a resistor, 9volt battery connector, and a pair of red LEDs for taillights. It cost around $30. Originally, I was going
to make my own light network, but I didn't know exactly what to do. I spent around $40 just to get the LED lights, battery
connectors, wire, a 9volt battery, battery holders and etc. I burned out two of the LEDs because I was unaware that I needed
a resistor, and destroyed two battery connectors. It is a tough job to make your own LED network, and I do not suggest it.


|
|
|
Here's where I took apart the car, and shown is the chassis, interior,
engine etc. You could see I began wiring the lights through the car, in the spaces where teh extra wire could go.
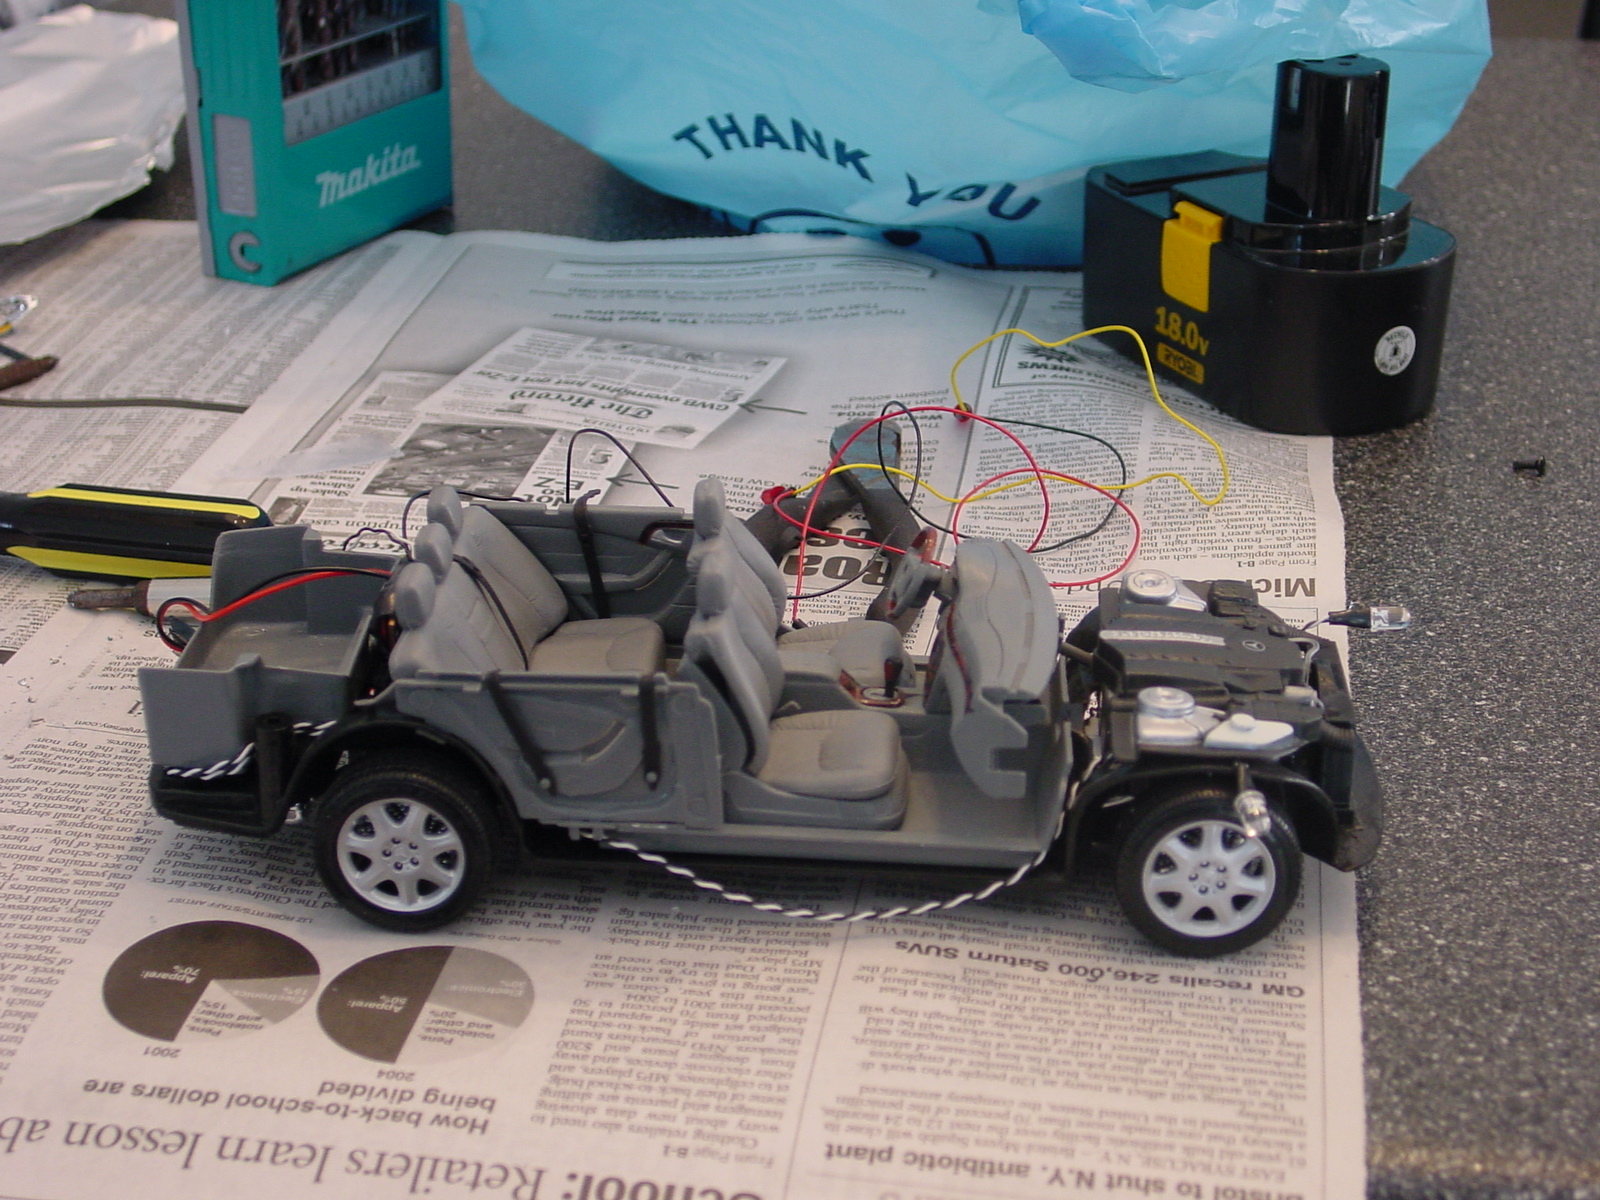
The next two pictures, is the body of the car. I had to manually
drill holes in the back lights, and in the front, in the light casings. I also had to widen the holes on the metal body behind
the light casings, so the LEDs would fit properly.
|
|
|
|
|
|
|
|
|
|
|
|
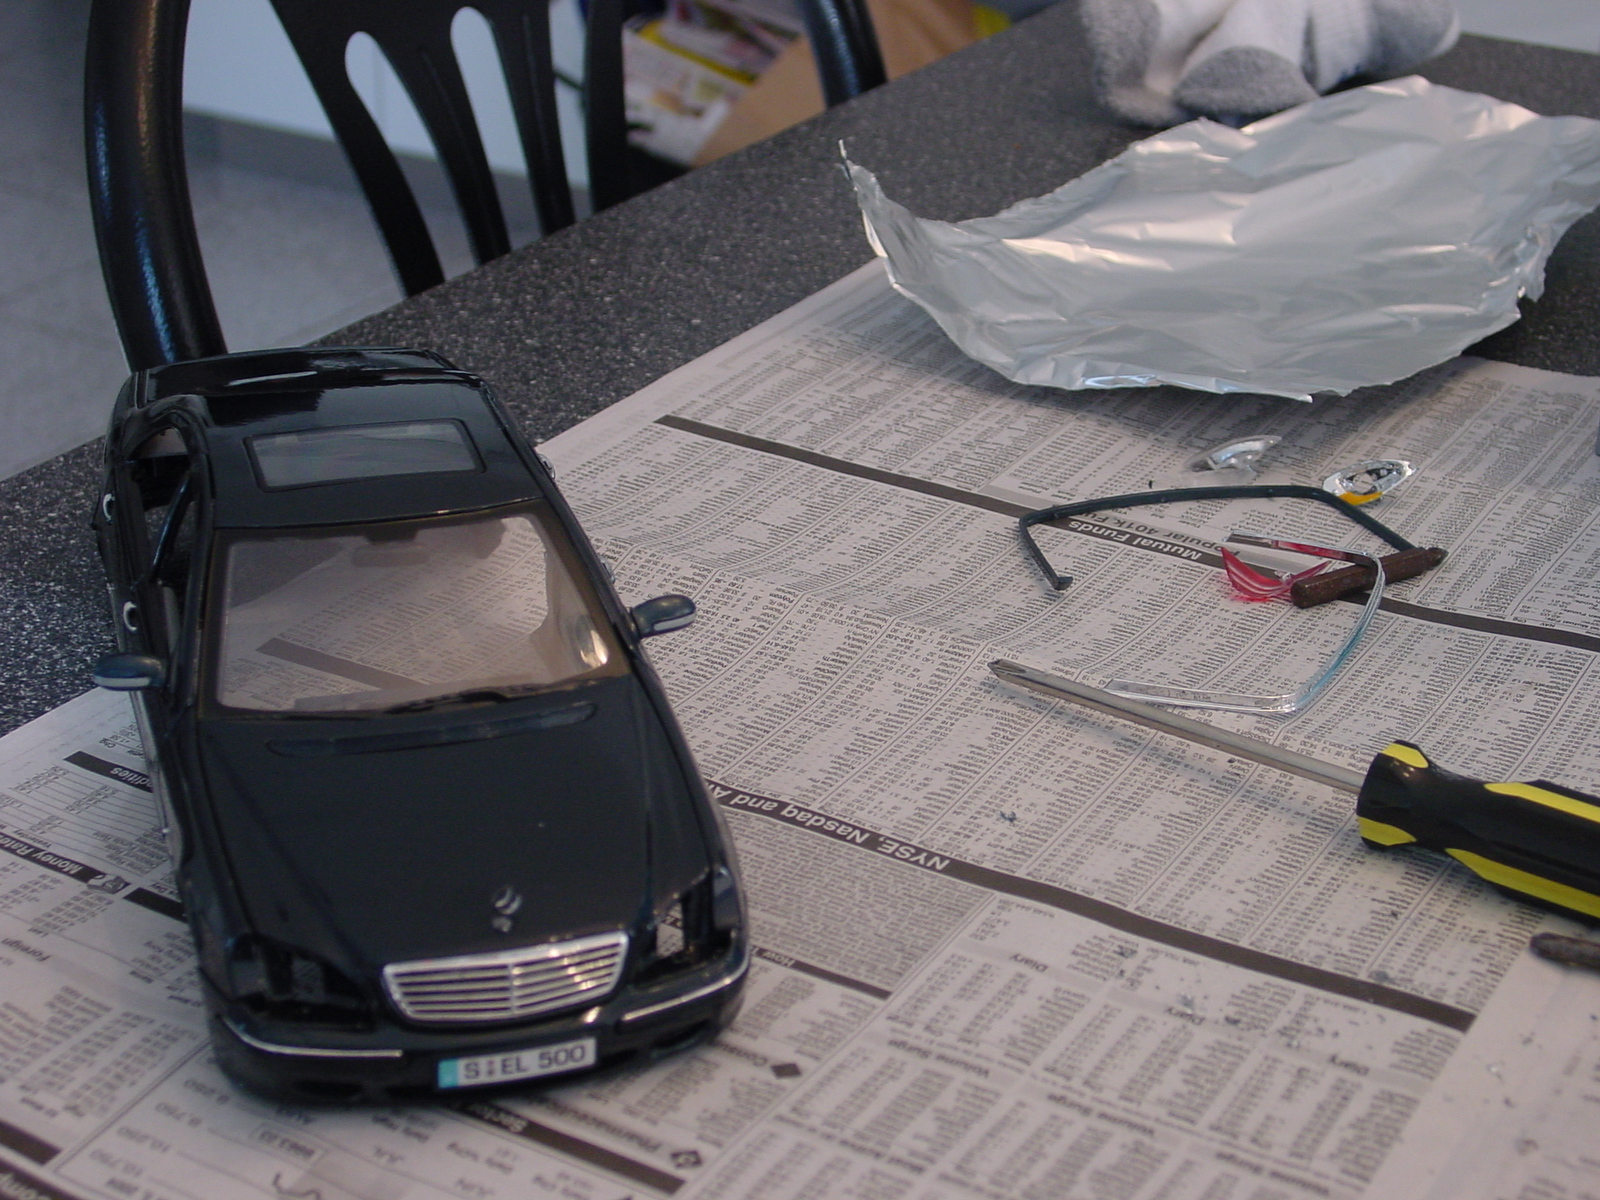
I am just about half way done, when a couple problems arose. I had
a white-clouded finger print on my right rear window from Krazy Glue, and i tried to get it off with a "Goof Off" solution,
which my dad told me to use. It happend to be that the solution dissolved plastic, so I had to e-mail Maisto, to see if they
could send replacement parts. If they can't, I will have to buy a new S500, and use those parts. The white clouding was also
on the right head lamp, and the left head lamp cracked for some reason. Then, one of the LEDs cmae apart from the wire, so
i had to resolder that, which was another set back in time.
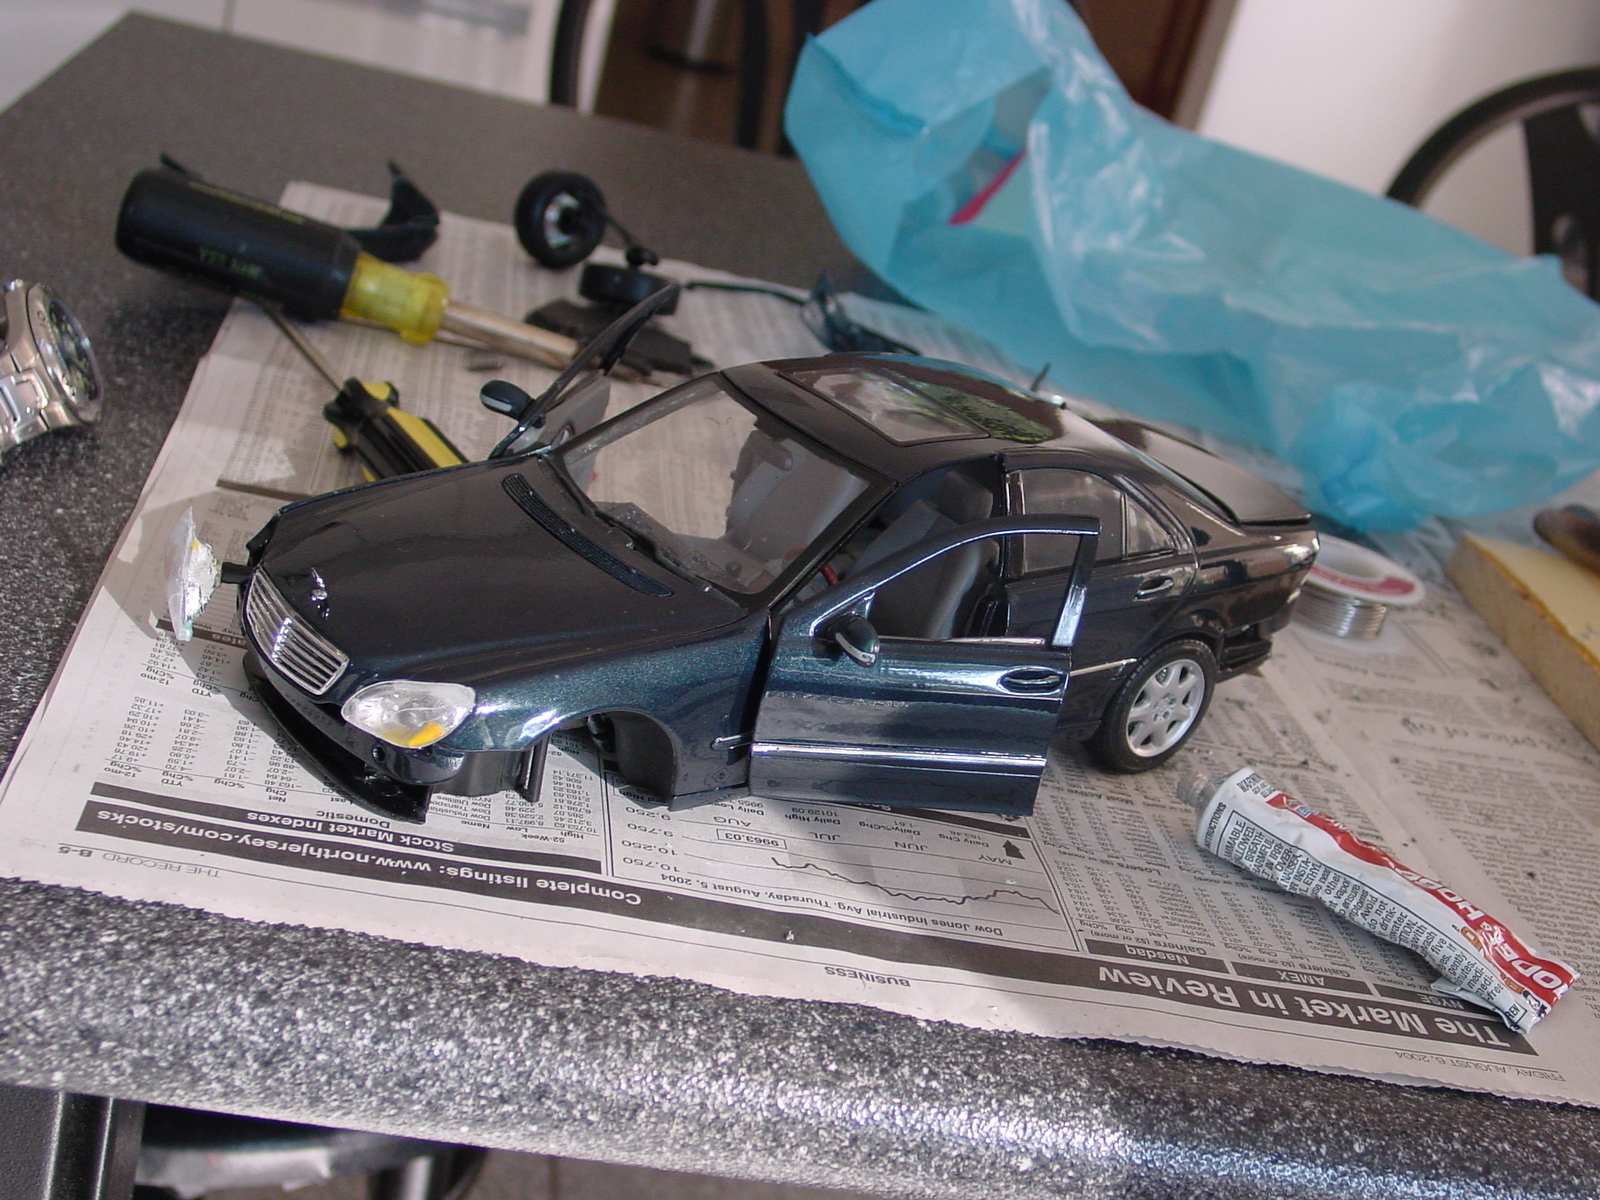
I am almost finished with Phase 1. The body and chassis are back
together, some of the lenses are on etc. Just waiting for some glue to dry.

Phase 1 Completed; Phase 2
|
|
|
|